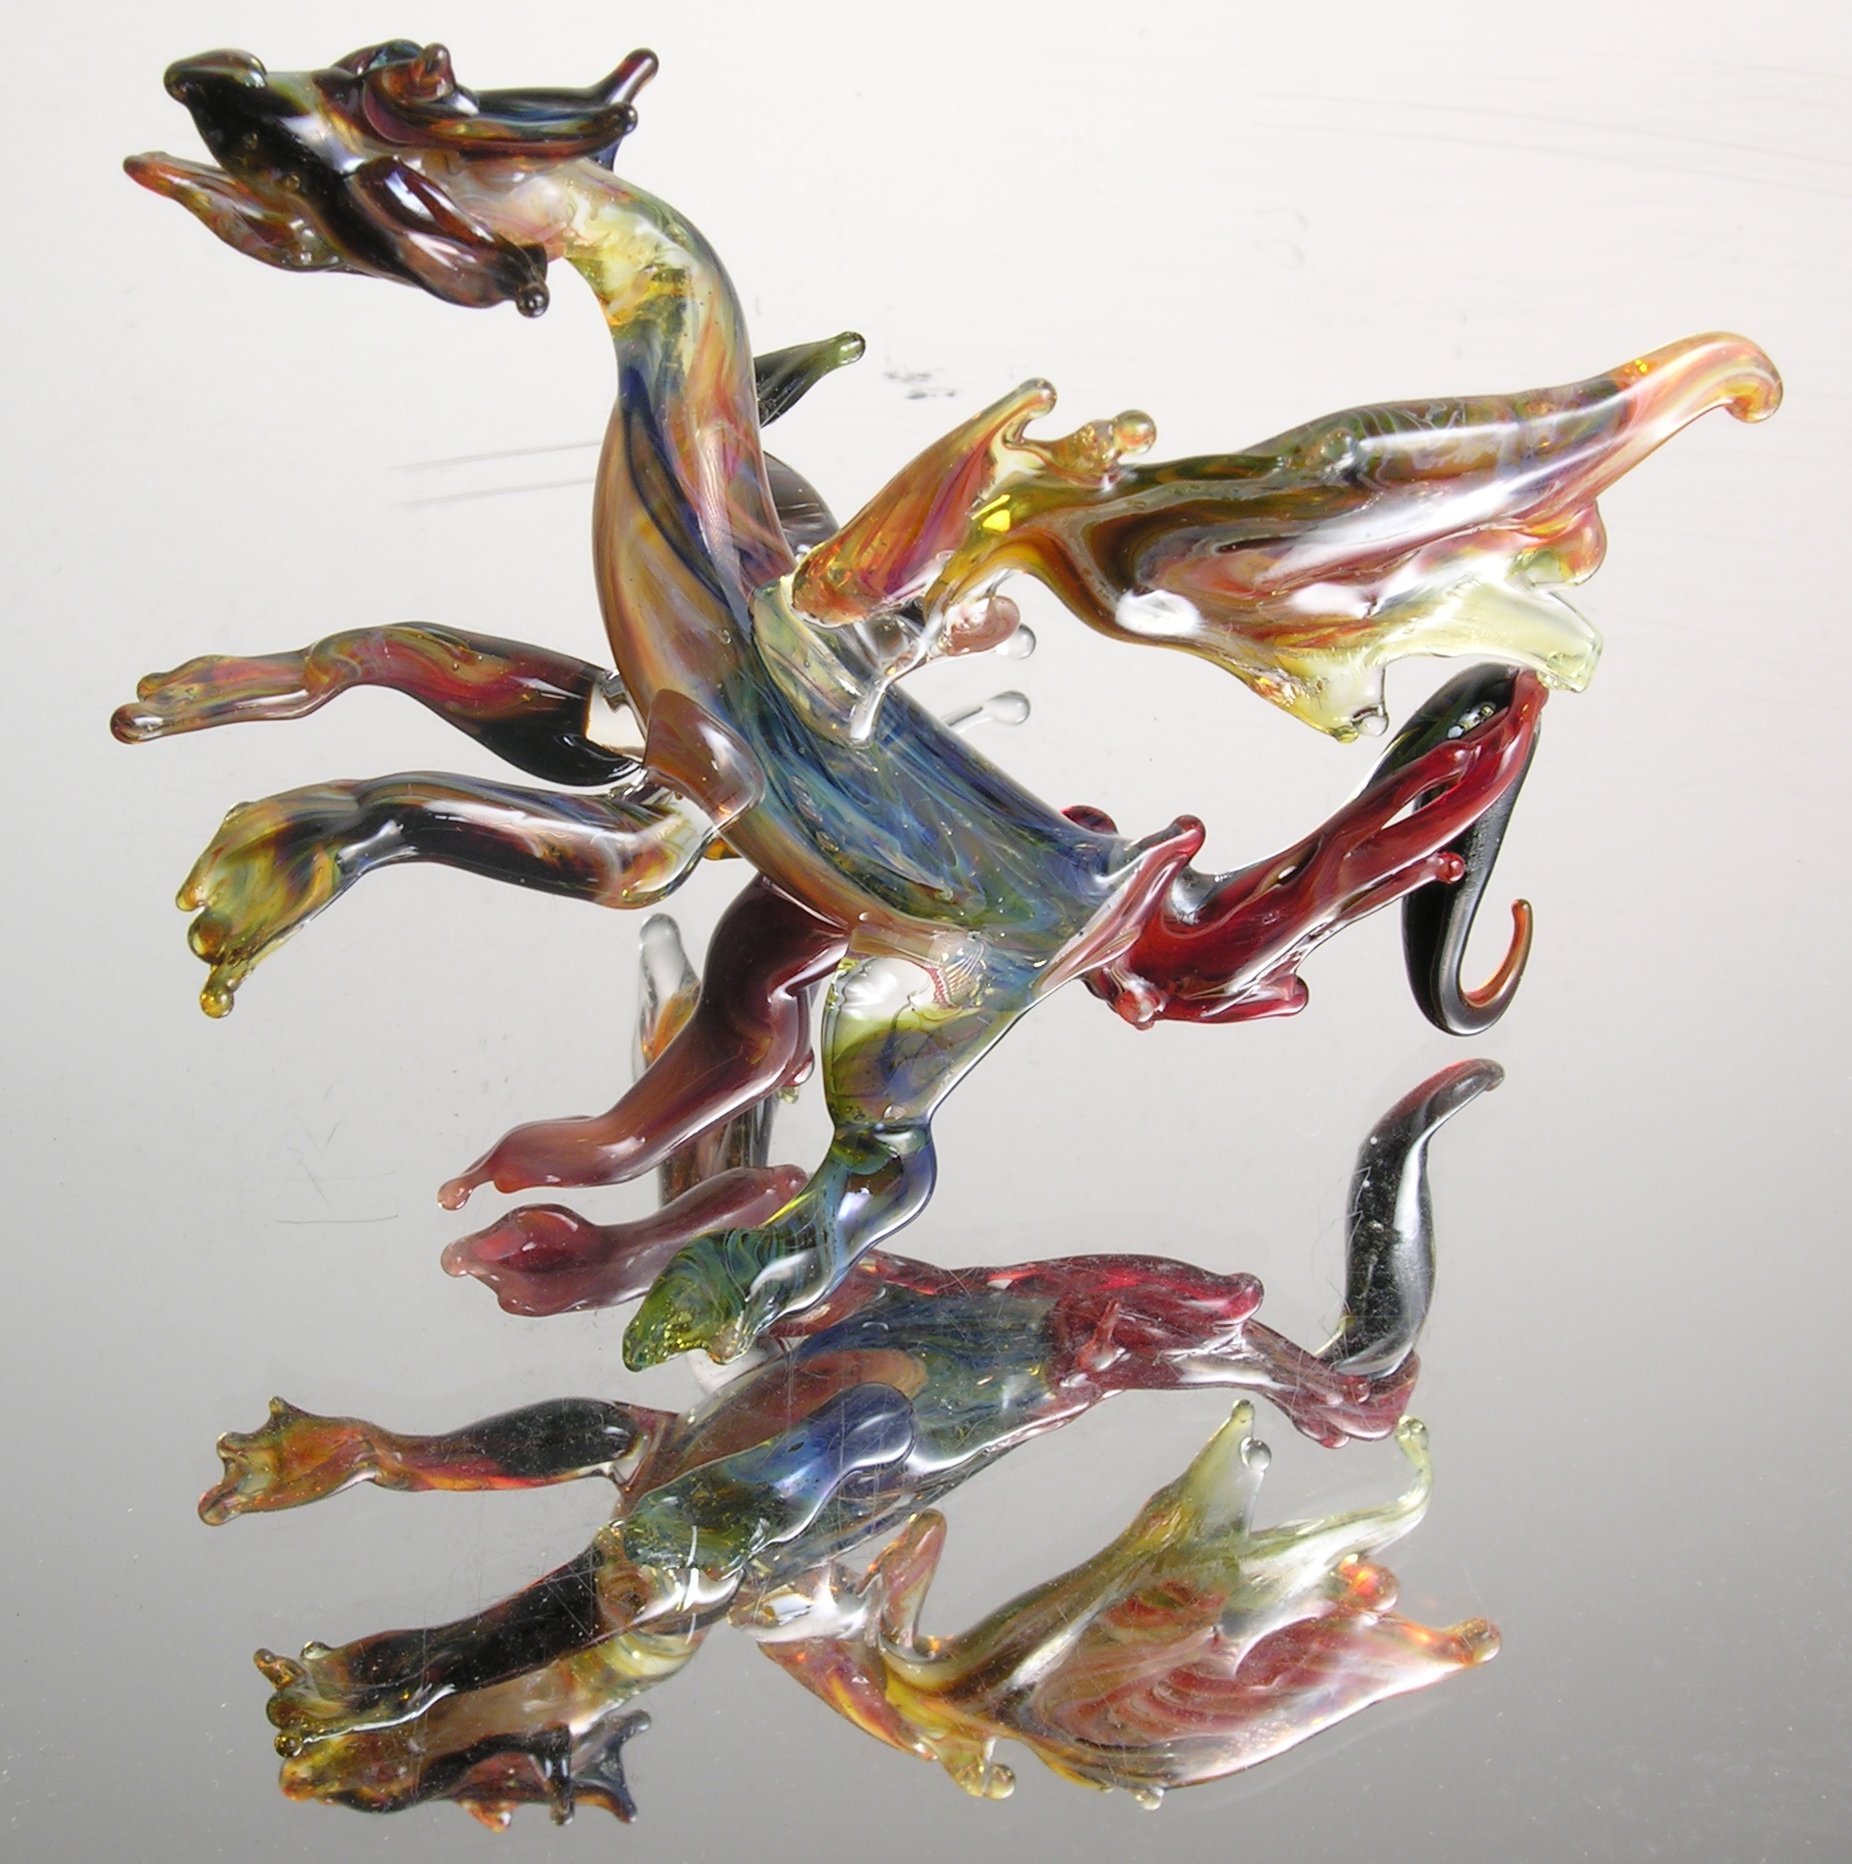
This is the third of my January 06 sculptural beasties, and a good example of the oh, why can't improvement be a straight line progression? It's better than the wyvern but not as good as the swirl-wing dragon. Hm, looking at this thing, perhaps its nickname will be the pit-bull head dragon.
How these things are made: (oooh, good that I procrastinated saved
this up cuz there's not much to say about this particular piece.)
As with much representational art, you start with the largest (visual) mass, which back in the days of my life drawing classes and is still the case with these sculptures, is the spine. (The difference is with the drawings I'd actually start at the head, whereas it's added later in the dragons; and as for sculptural people, though I've yet to make any myself, everyone I've seen started with the buttocks. But presumably this is because with glass you not only want to start with the biggest visual mass, but the largest mass, period, so as to avoid cracking issues. But I digress, or at least, anticipate.)
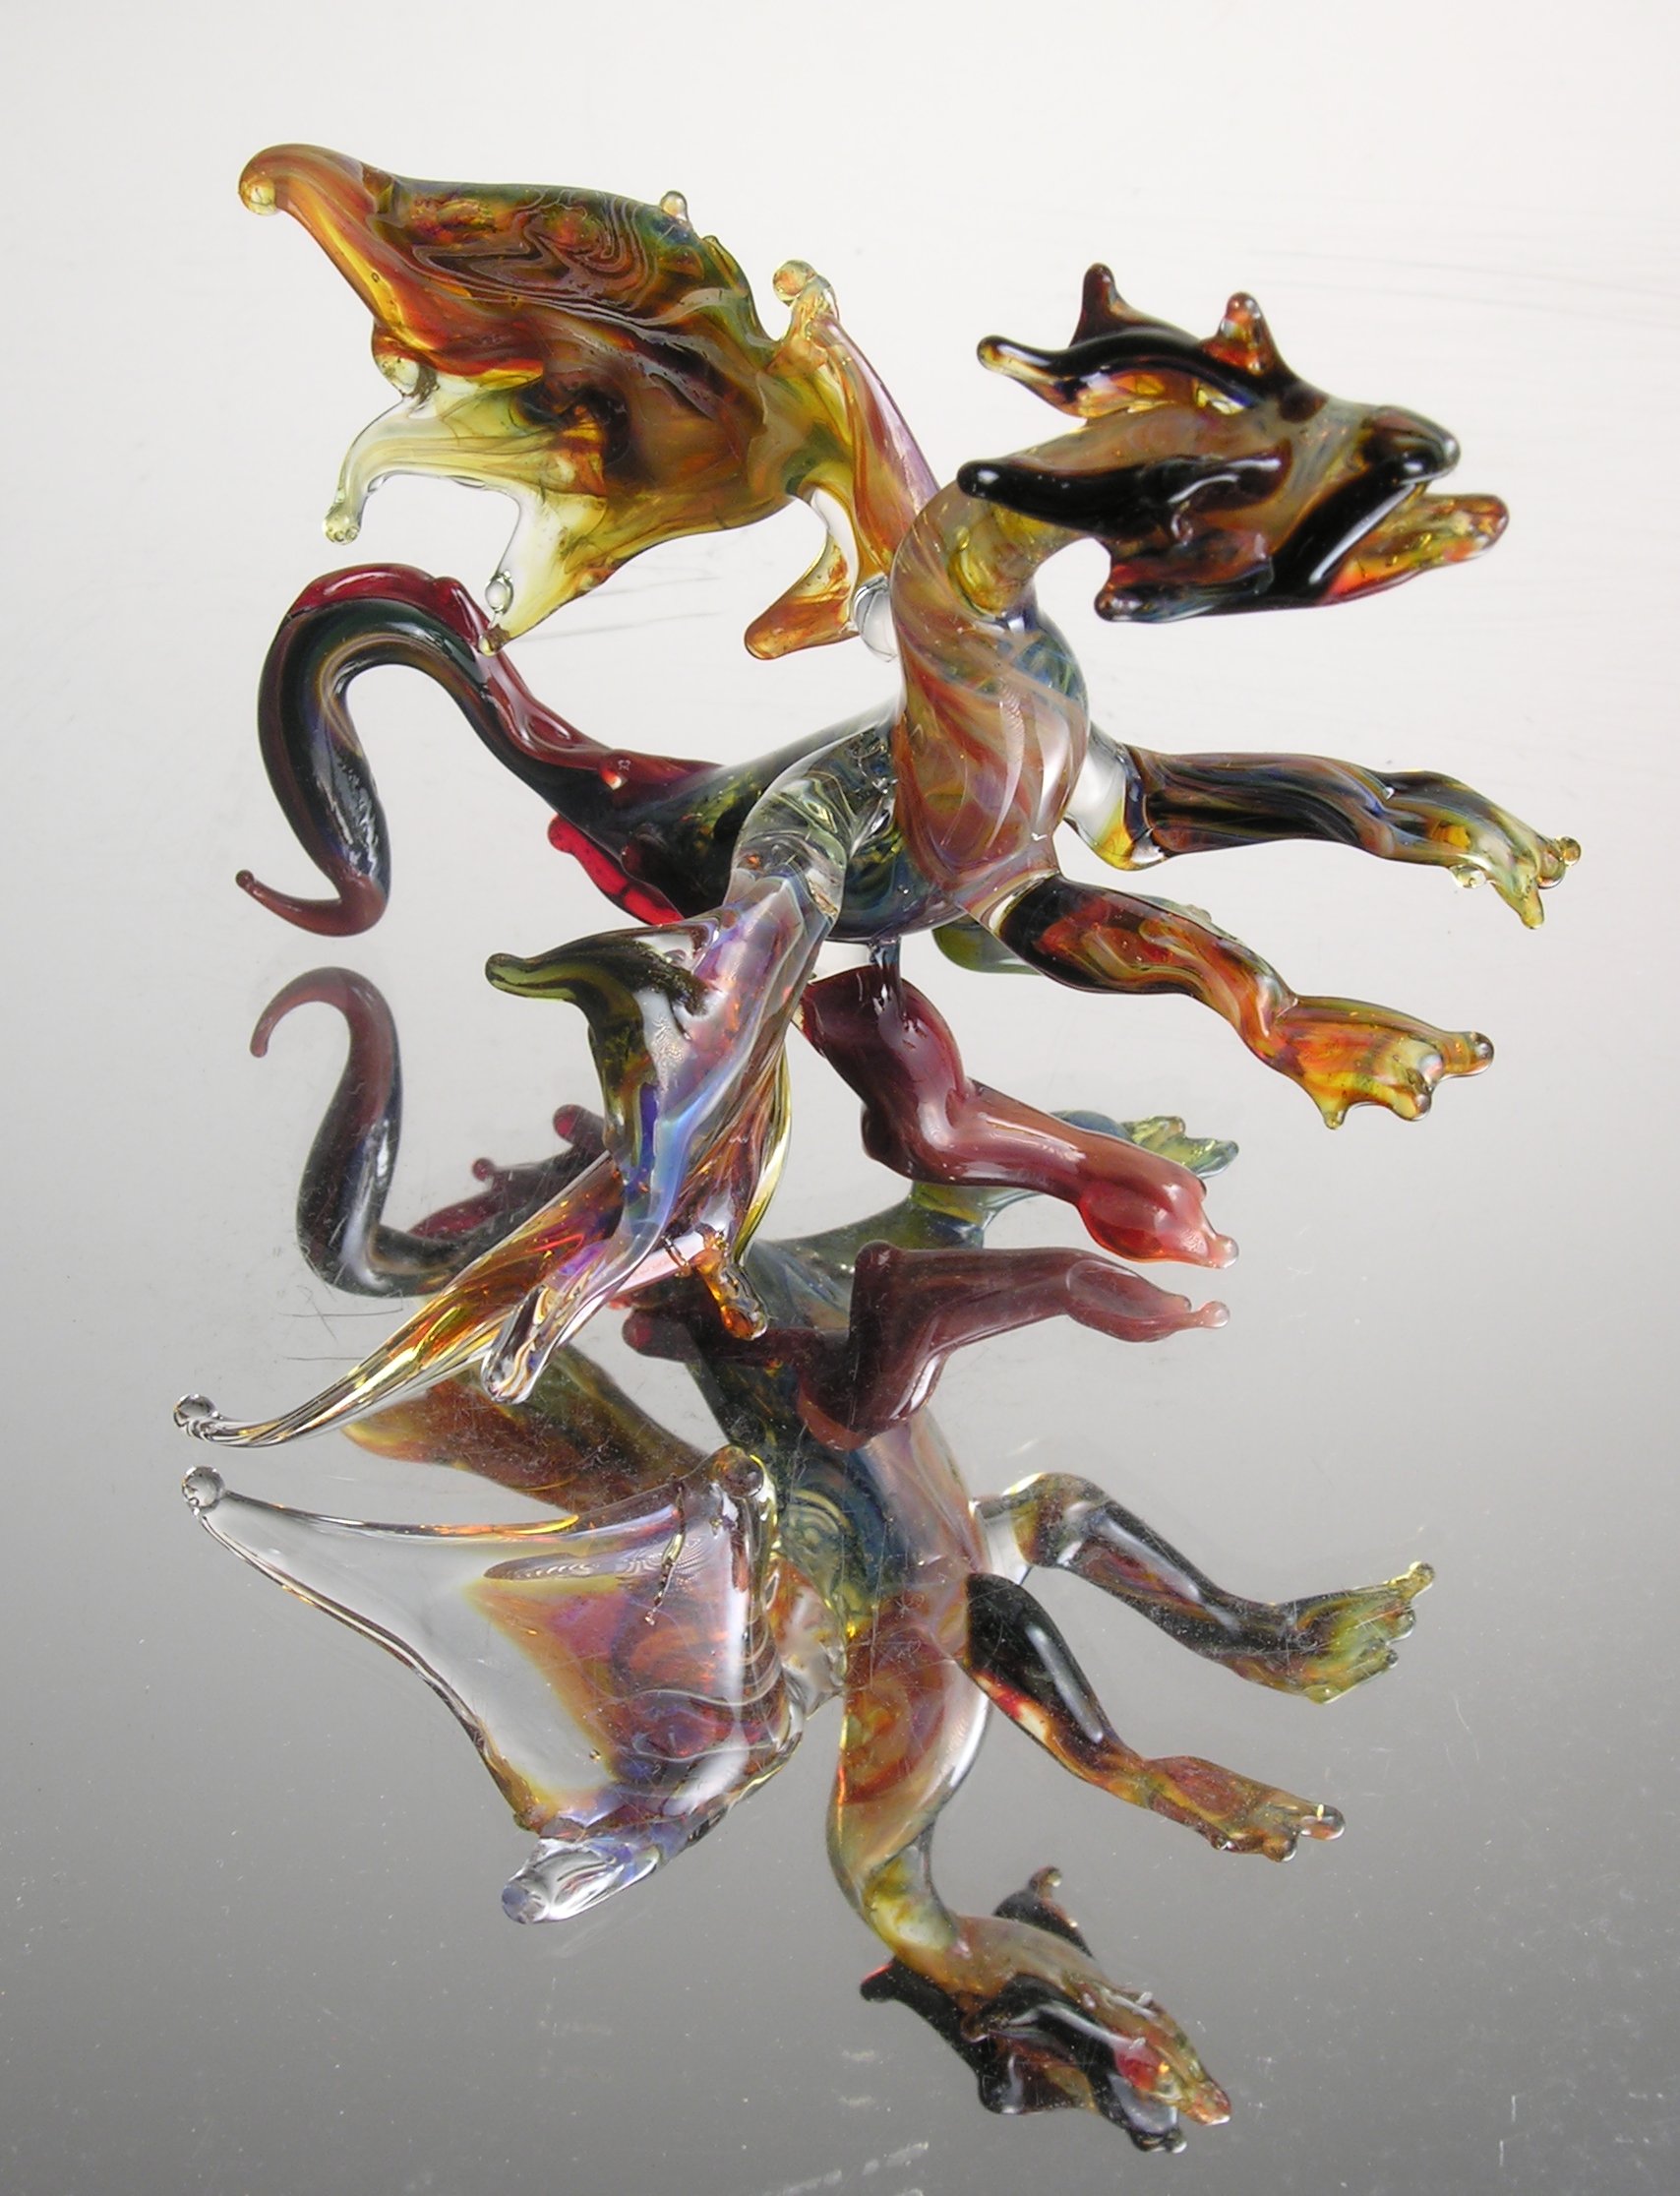
pit-bull-face dragon. Roughly 3x3 inches, borosilicate, Jan 2006
After I pull out a mass in the spine (and if I'm lucky manage to shape the tail as well) while it's still nice and warm I add stubs to it for the protrusions: that is, the wings and legs, and melt them in well. The reason for doing this is that finishing a wing or leg, and then going on to the next is that, eventually the body will have cooled down so much that adding a bit of hot glass will shock the larger, cooling mass, causing it to crack.
Not good.
Instead, by adding the limbs to a fairly small (thin) piece of glass, the temperature differences are more evenly distributed. So...after adding nobs to the body, I might next do the wings, as they're next largest, usually by adding a big glob of hot soft glass, which I mash into ovals. Or I can put the beastie down (oh, joys of boro) melt the glob, mash, shape, attach to sculpture, and shape a little more (generally by heating a section, touching it to a piece of glass, and pulling or twisting; less often by heating and flattening repeatedly with tweezers, though this is a very popular technique for fins and feathers; sometimes I add extra spines or whatever by wiping a swipe of glass). Repeat for second wing.
other side.
Legs I usually just add directly to the stumps, though I leave the toes/claws for later. If I'm lucky, I manage the heat-pull out thing I discussed a little in yesterday's post, but usually I add glass using a technique called ‘wiping on’ (you can wipe off too), which I think of in terms of painting (but with viscous paint!) —not surprising, since my college training emphasized drawing and painting. I generally put the head on roughly at the same time as the legs, form its little projections—jaws, horns, etc—then go back to do the same (e.g. paws) on the legs.
Once I start putting feet on, I rest the piece (still on a handle, or punty/puntile —I believe they're pronounced the same, hence the back-formation-spelling) on the table to see if it will topple over. This is where I tweak the joints (like the beast's elbows) softening and doing any final shaping to the legs, like pulling the knees/elbows out to points. My pieces do not tend to be masterpieces of stability (or anything else) but I do usually manage to tweak them so they rest, however awkwardly, on a flat surface.
Then I burn off the puntile, and set the piece aside to be annealed.
file created 05feb06
Unless otherwise noted, text, image and objects depicted therein copyright 1996--present sylvus tarn.