Backing up a bit, this page documents the stringing process for the ‘hanging’ strands between the loop and the mesh that encloses the pot. Note that the tigertail is doubled at this point—this is so it can split into single strands when the mesh courses begin.
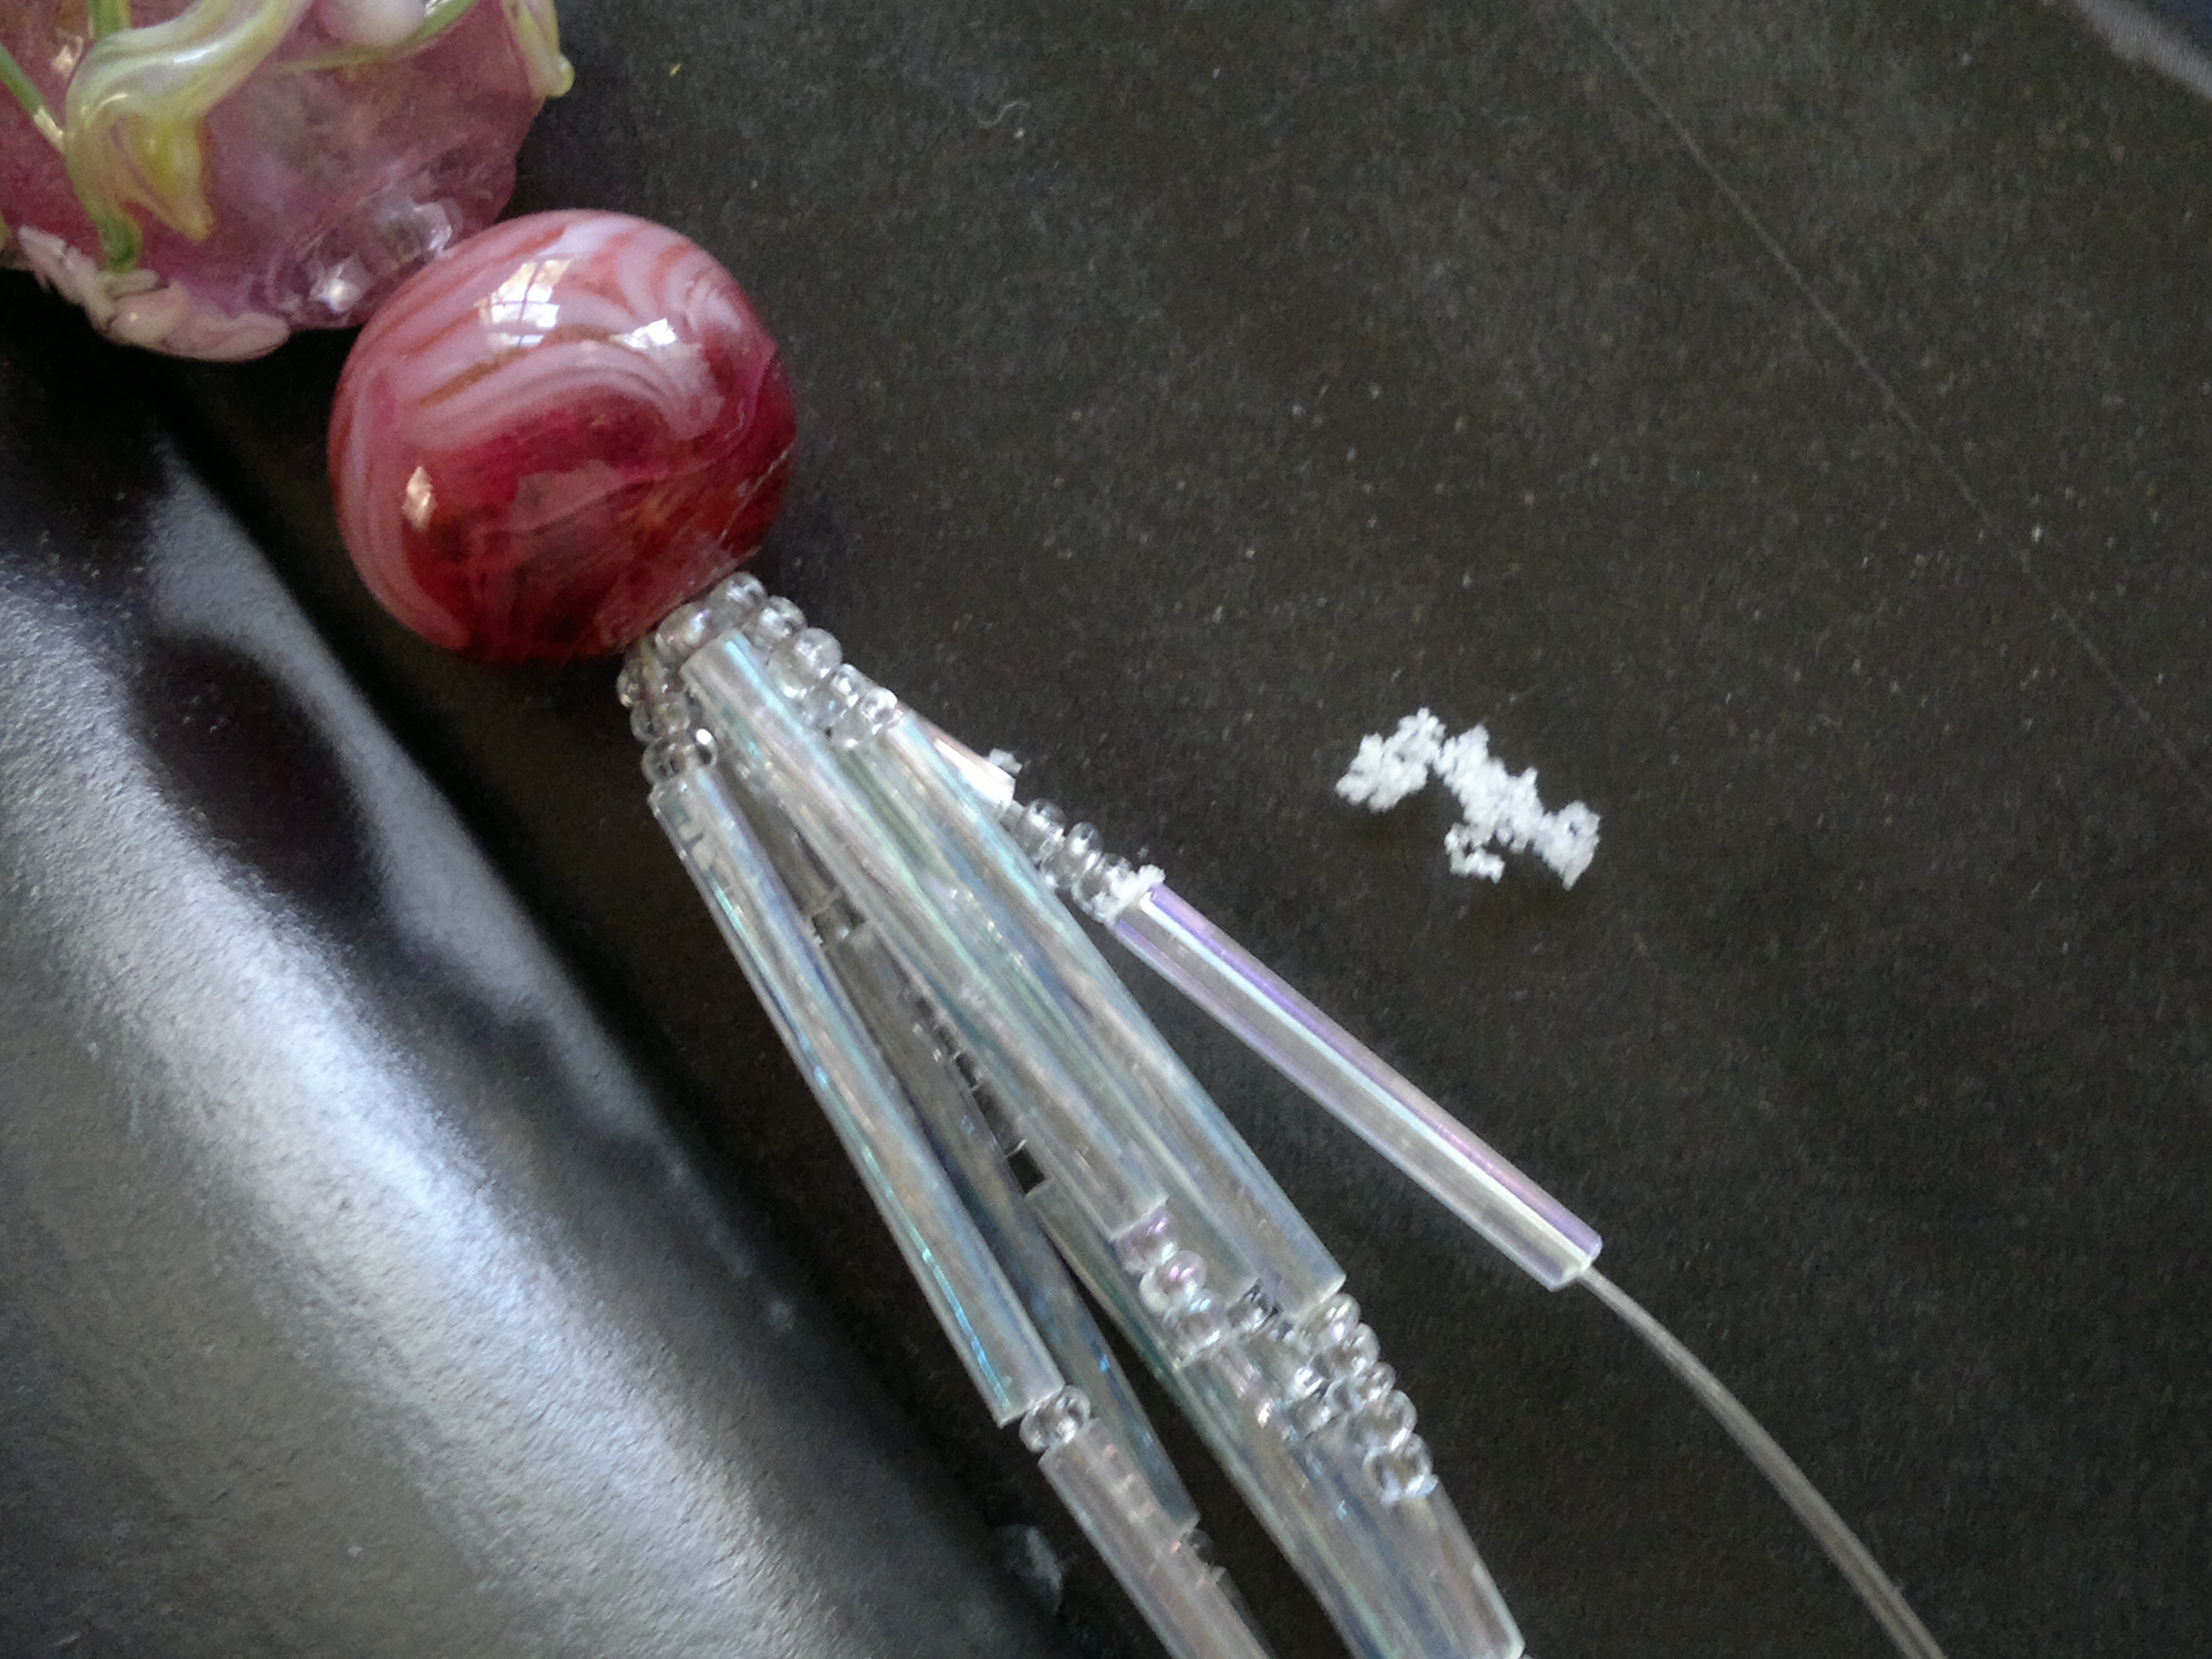
1" long bugles are just a tad on the tight side: that smutchz to the right of the bead work is plastic curls, tigertail sheathing shaved off by the holes of the beads!
The way to solve this problem is, of course, to test your beads before you start, rather than gathering up assorted bugles you've had lying around for the last decade or two. [1] Since this item was for me, and I wanted to use these beads, I didn't worry about it too much—especially since it was experimental (not to mention double the number of strands, for a relatively small pot.)
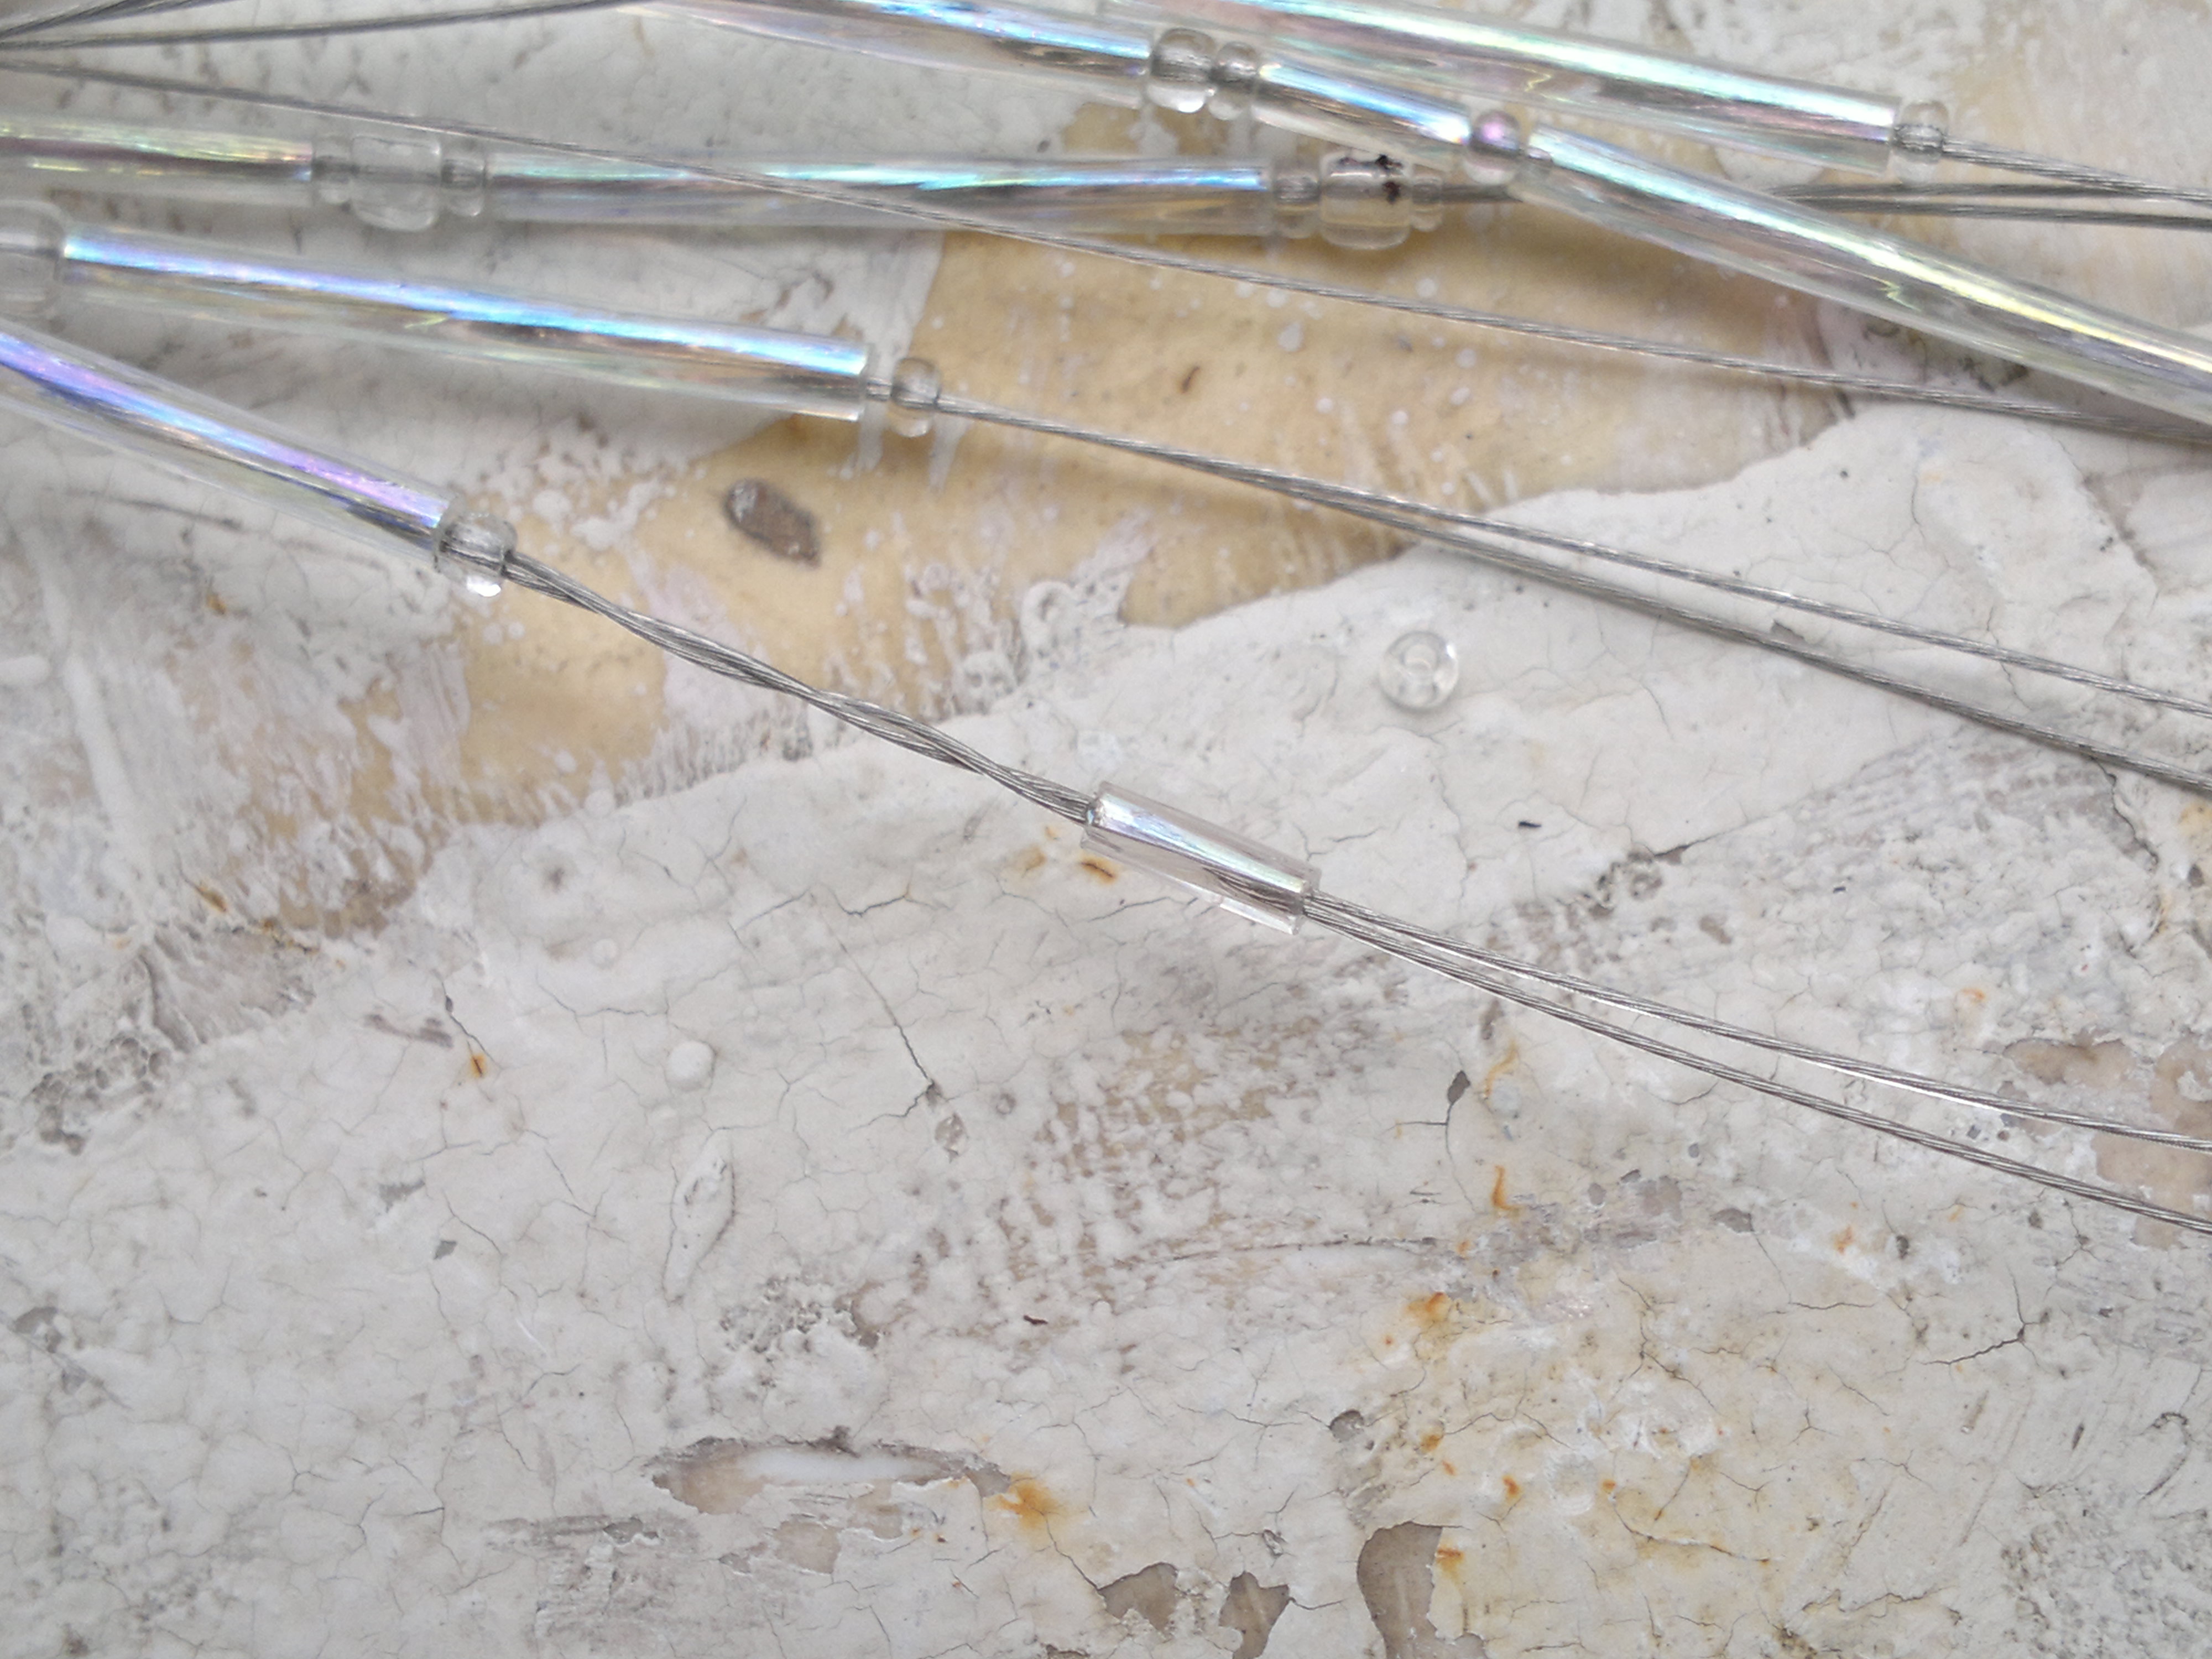
This closeup illustrates the annoying habit of tigertail (7 stranded steel cable, sheathed with plastic) to twist when the bead holes are slightly too small.
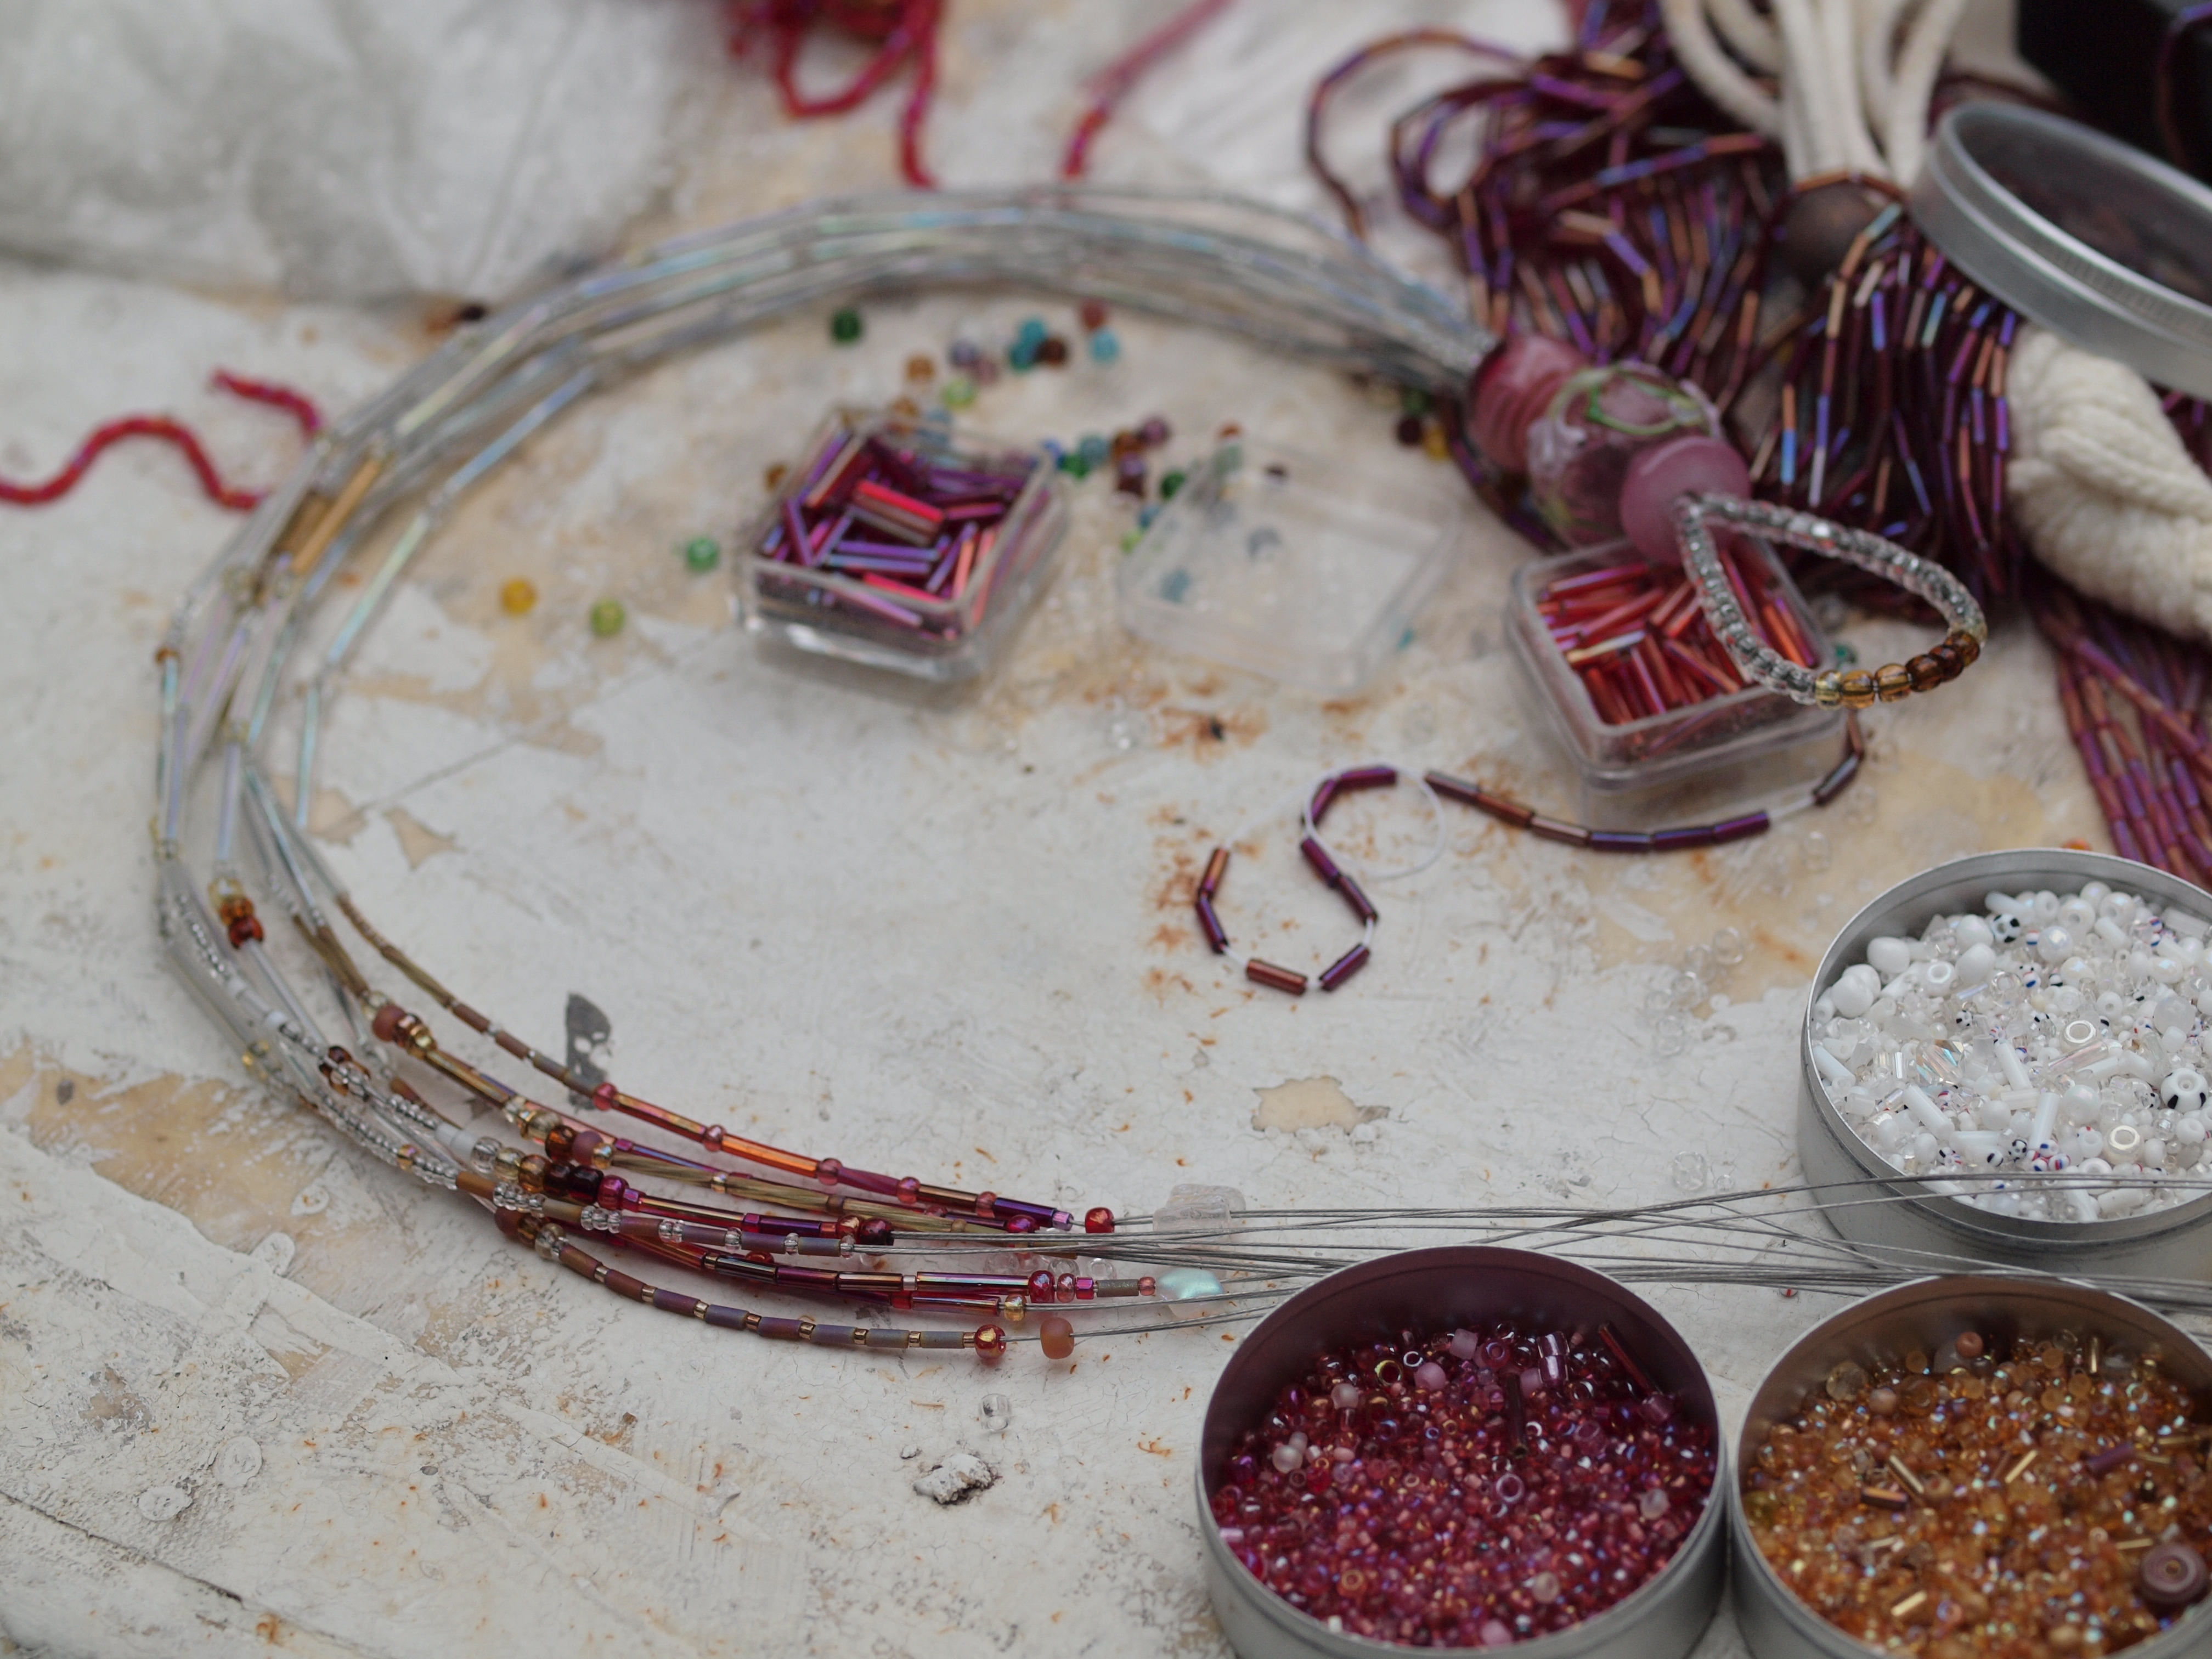
Most of ‘hanger’ part strung. This is a great project to use up those 25mm bugles that might break if they have to curve around someone's neck, because this part is held nice and straight by the weight of the plant.
Typically I make the hanger length about 16 inches; here it's 13 (because the pot is so small, and therefore the plant inside will be as well.)
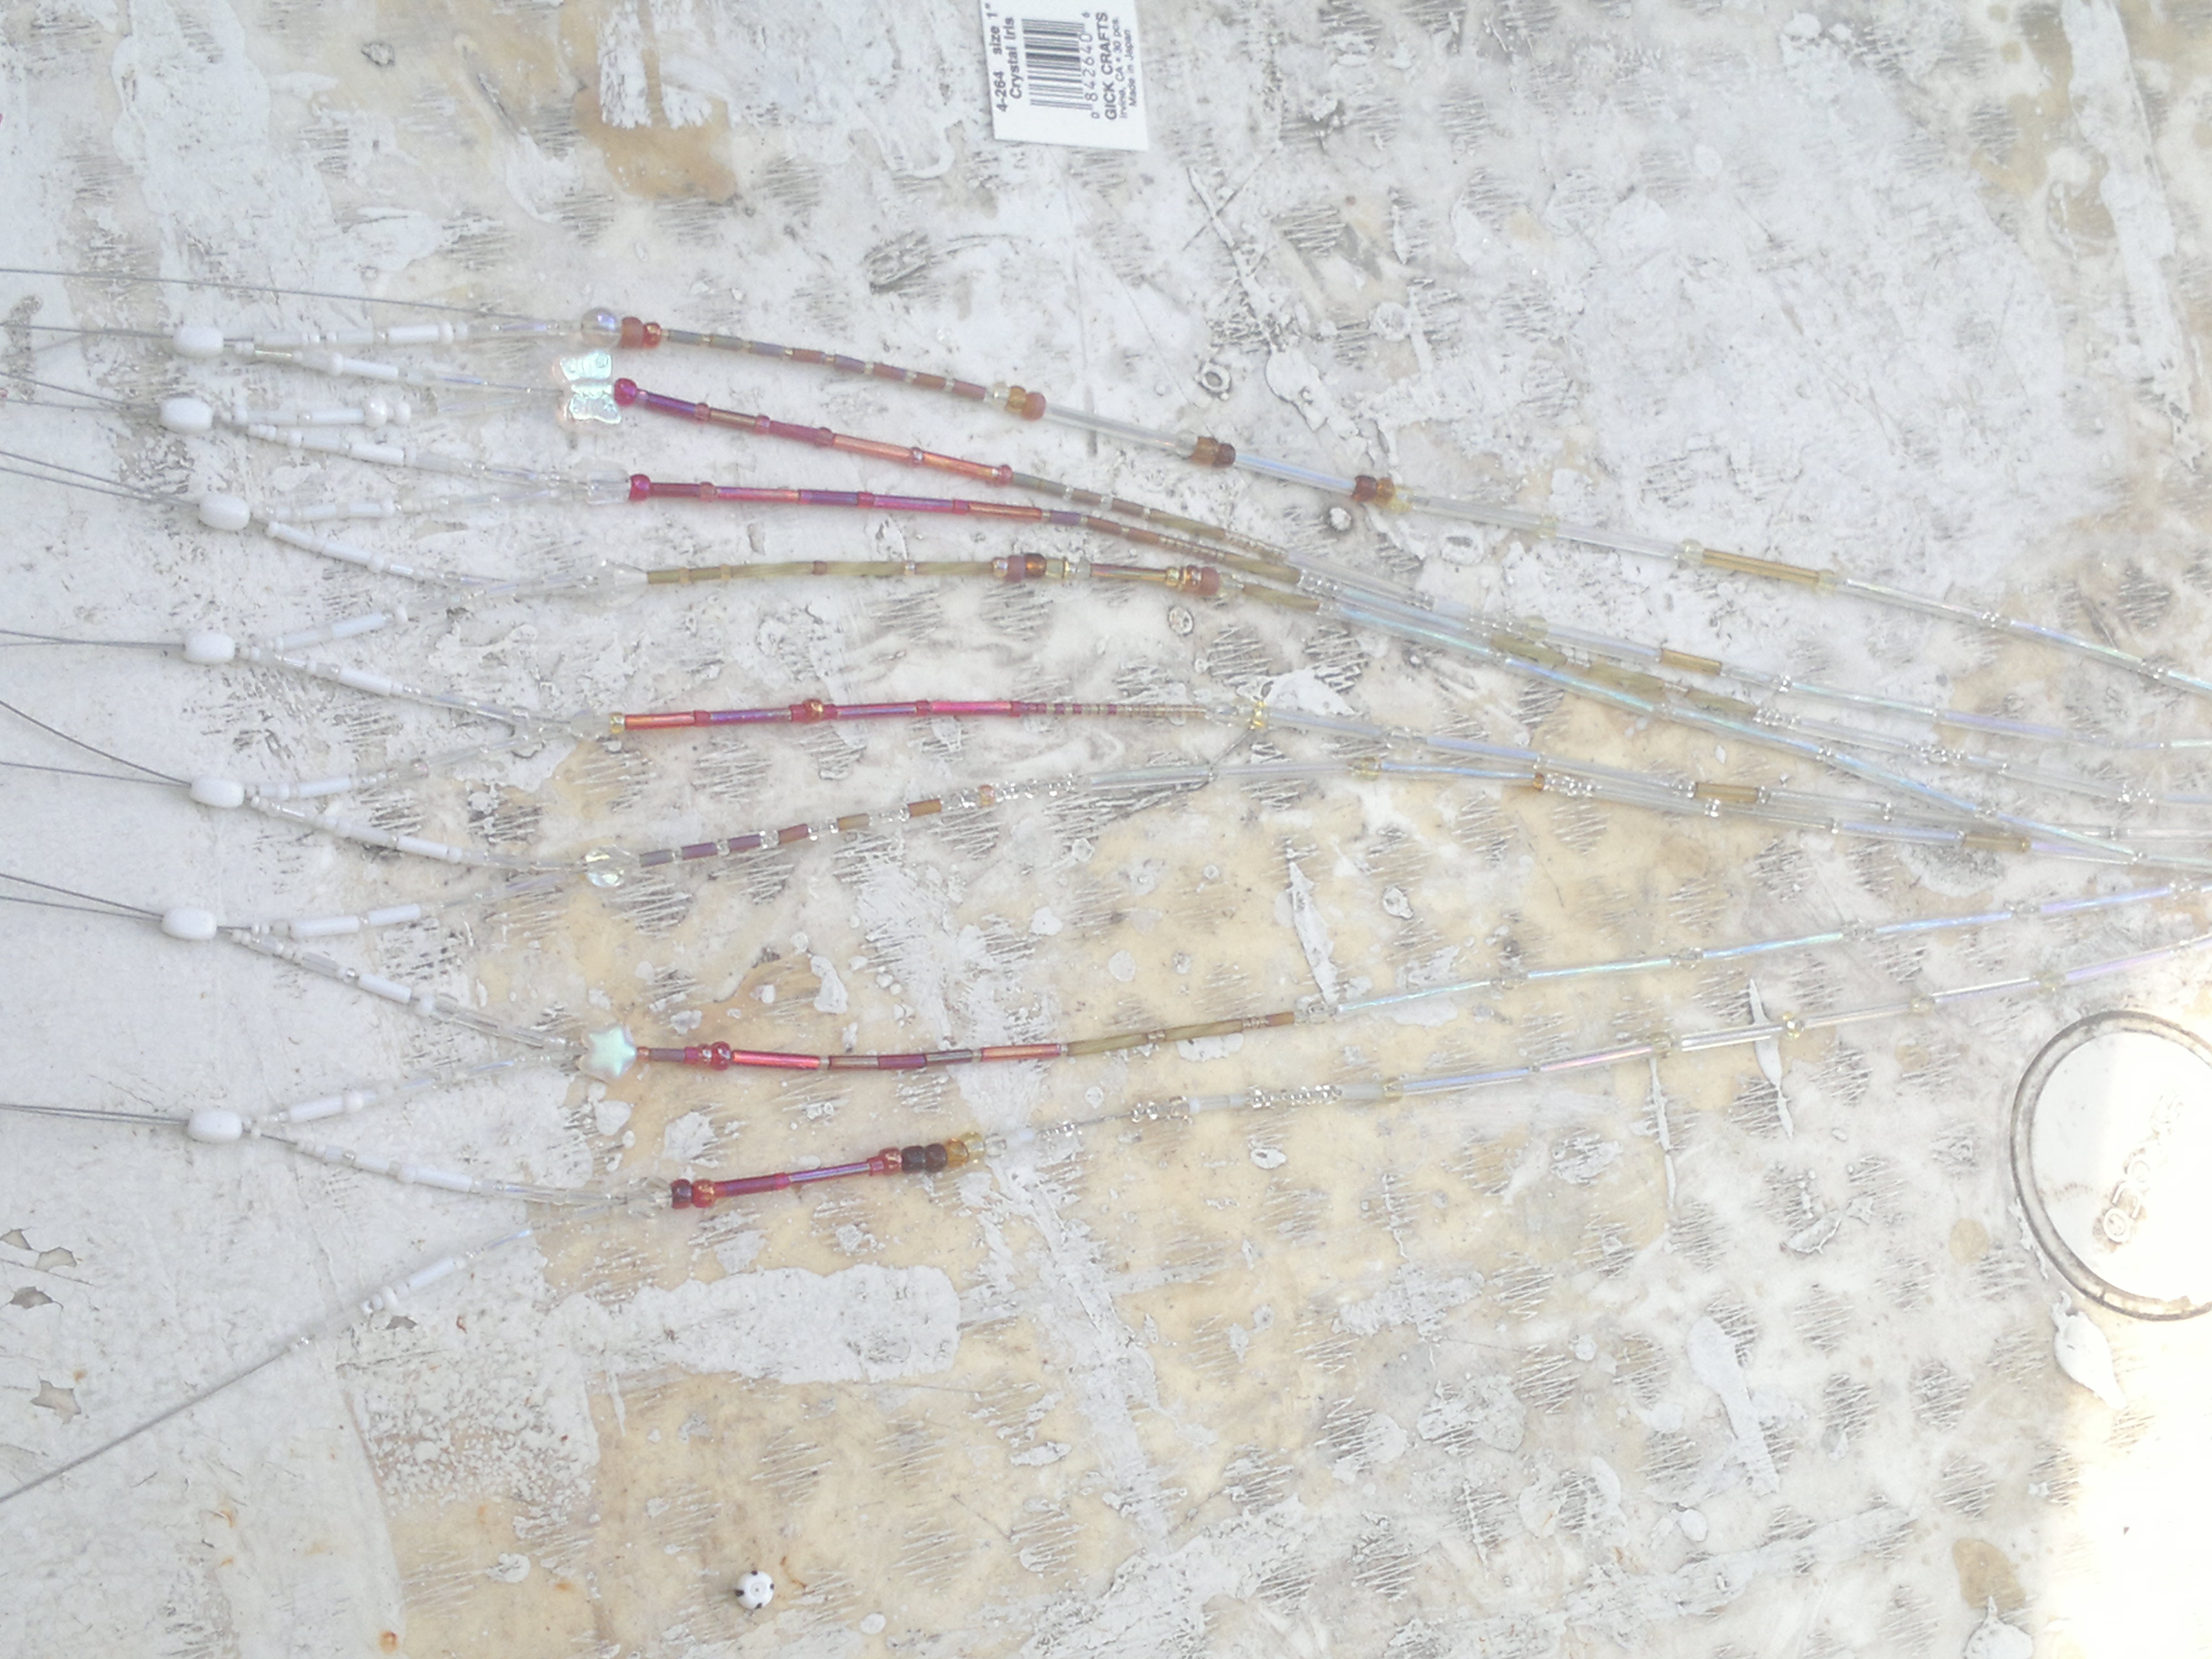
Note: image reads right to left. Starting on the mesh (i.e. netting) that holds the pot in place. Plus they eat up all that length to string:)
This hanger has five courses, and the measurements probably go something like 2.5 1.25 for the first 4 courses and 1" 3 inch (75mm) for the last. Typically (for 8/4 as opposed to the 16/8 strand design shown here) there are three courses, of 4, 2.5 and 1 inch (100, 62 and 25mm) respectively, which I've found works well for standard pots,[2] and in the last course the tigertail is doubled again before being gathered into the bottom tassel.
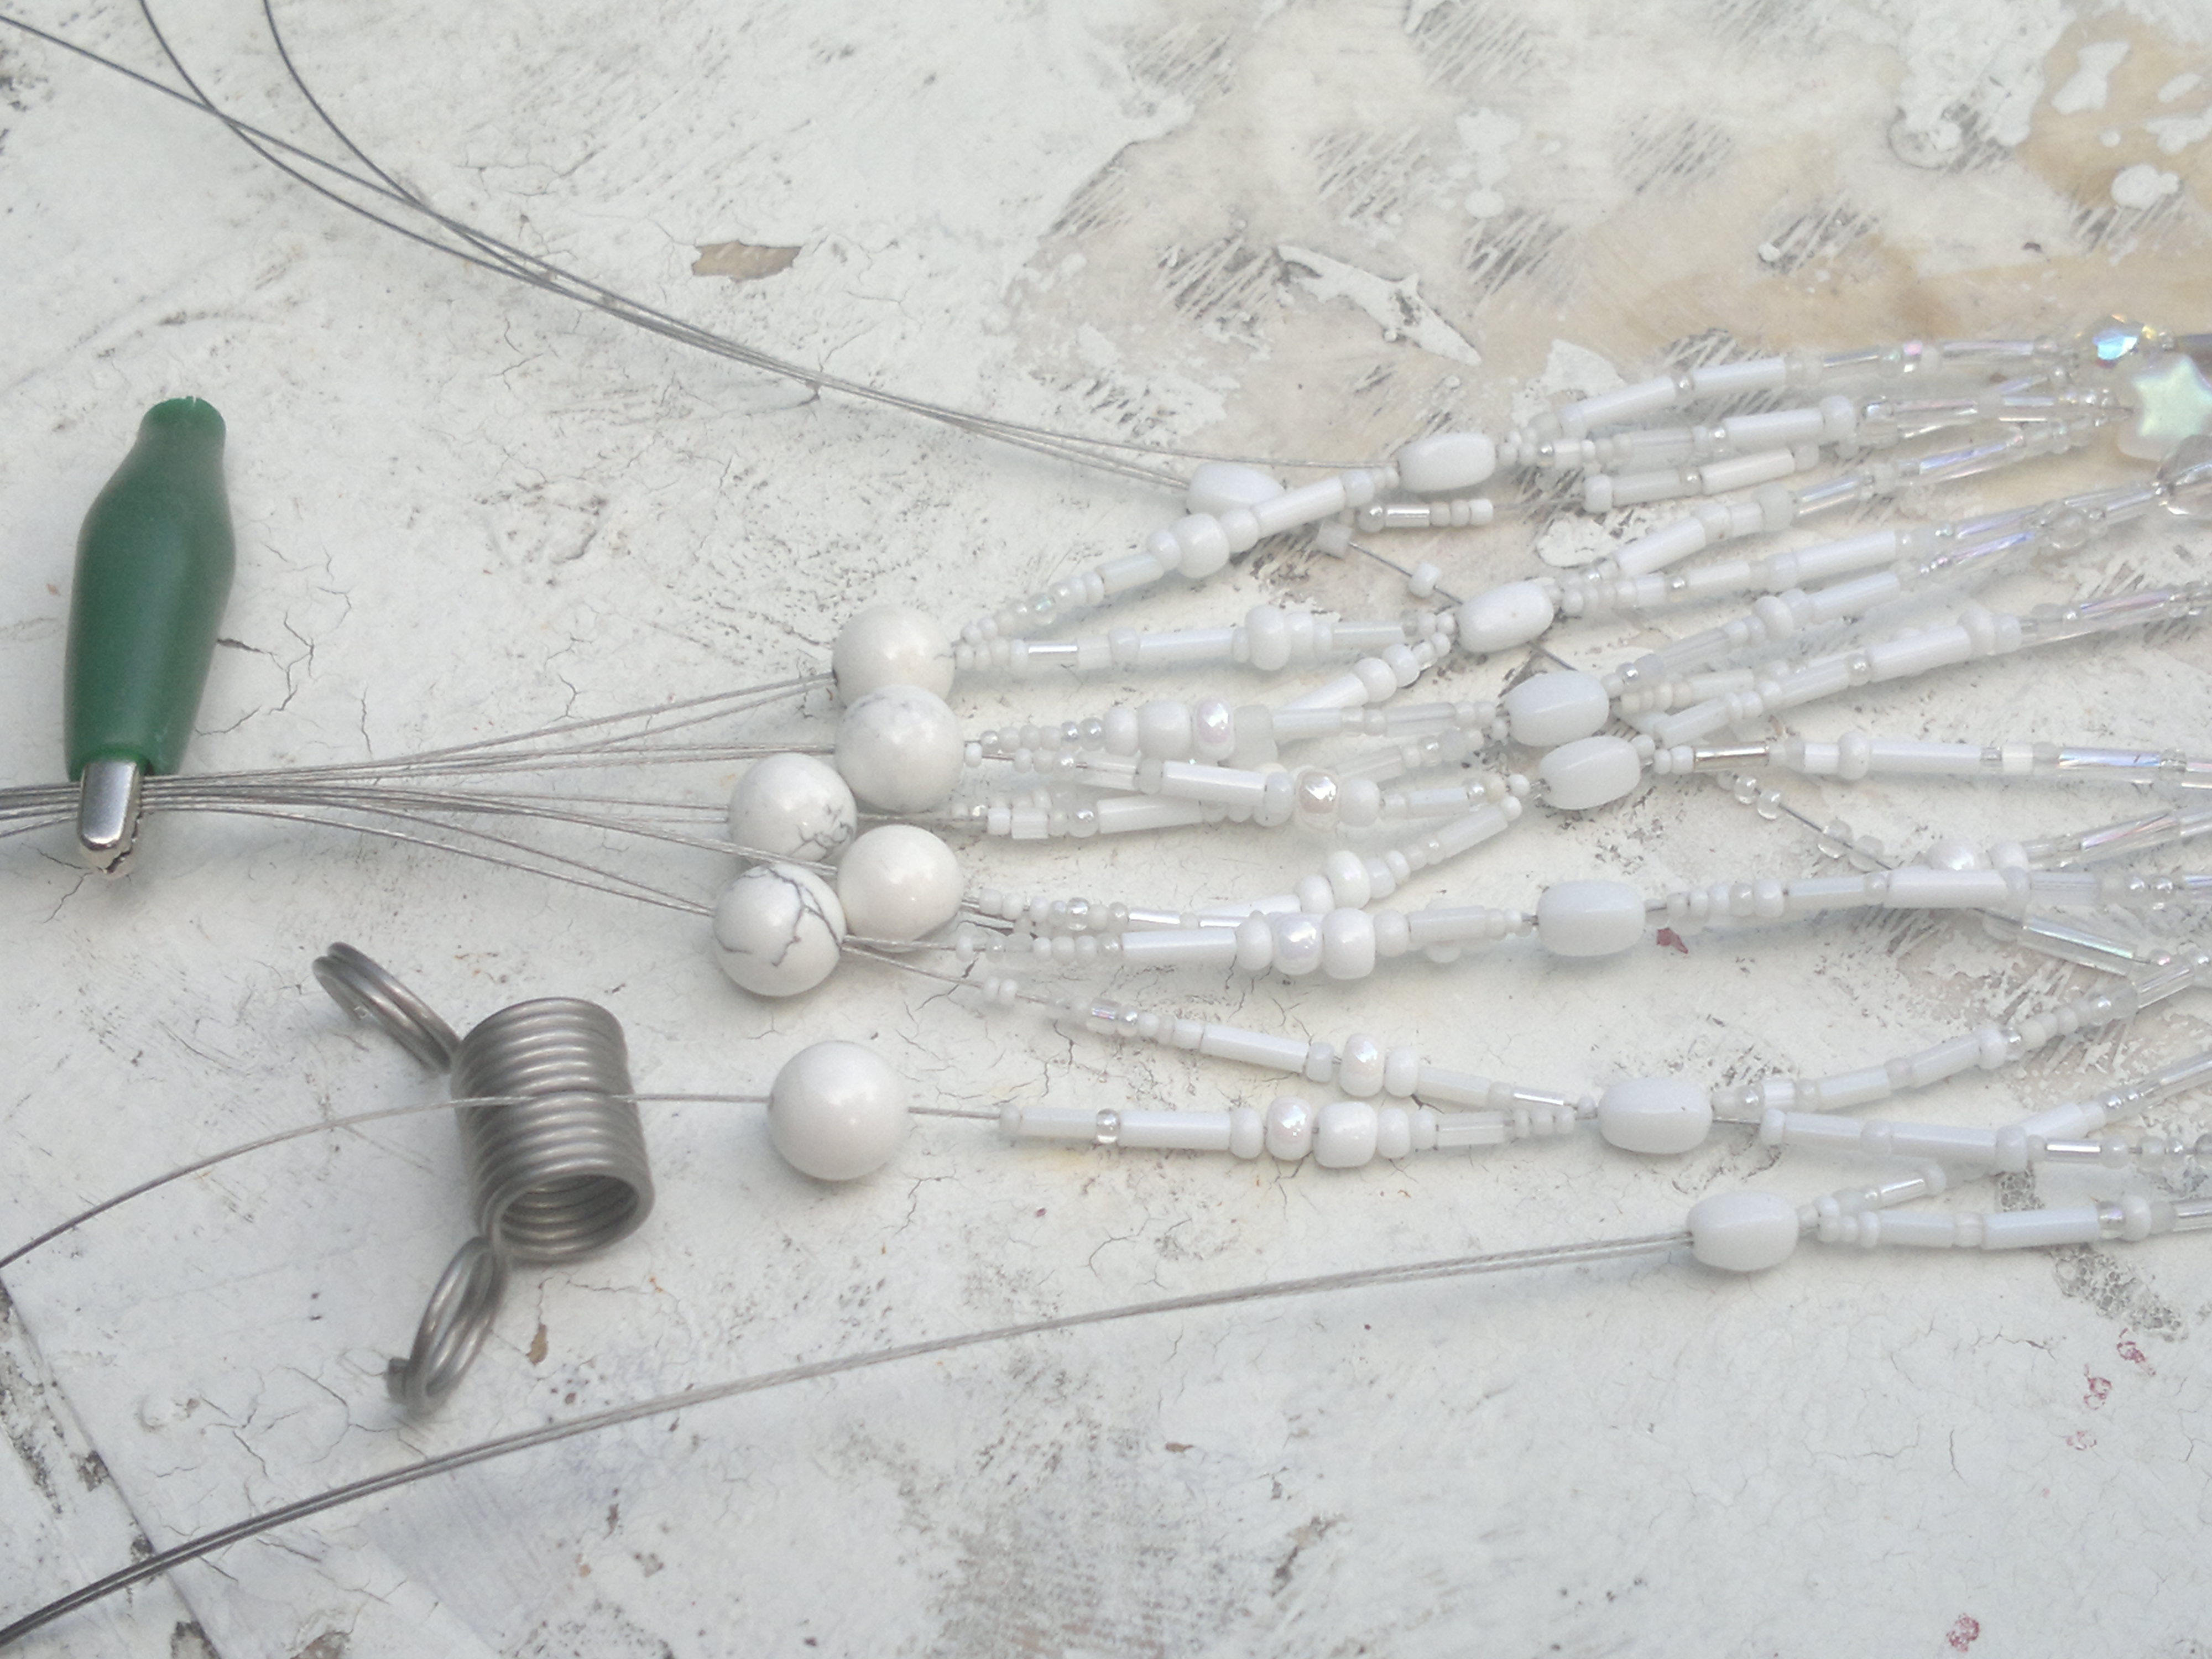
Note: image reads right to left. Starting on the second course of netting. Since I made this hanger specifically for this pot, I chose opaque white beads to match it, as opposed to transparent pinks and yellows to match the rest of the design. The 8mm beads are indeed howlite, left over from my semi-precious stringing days.
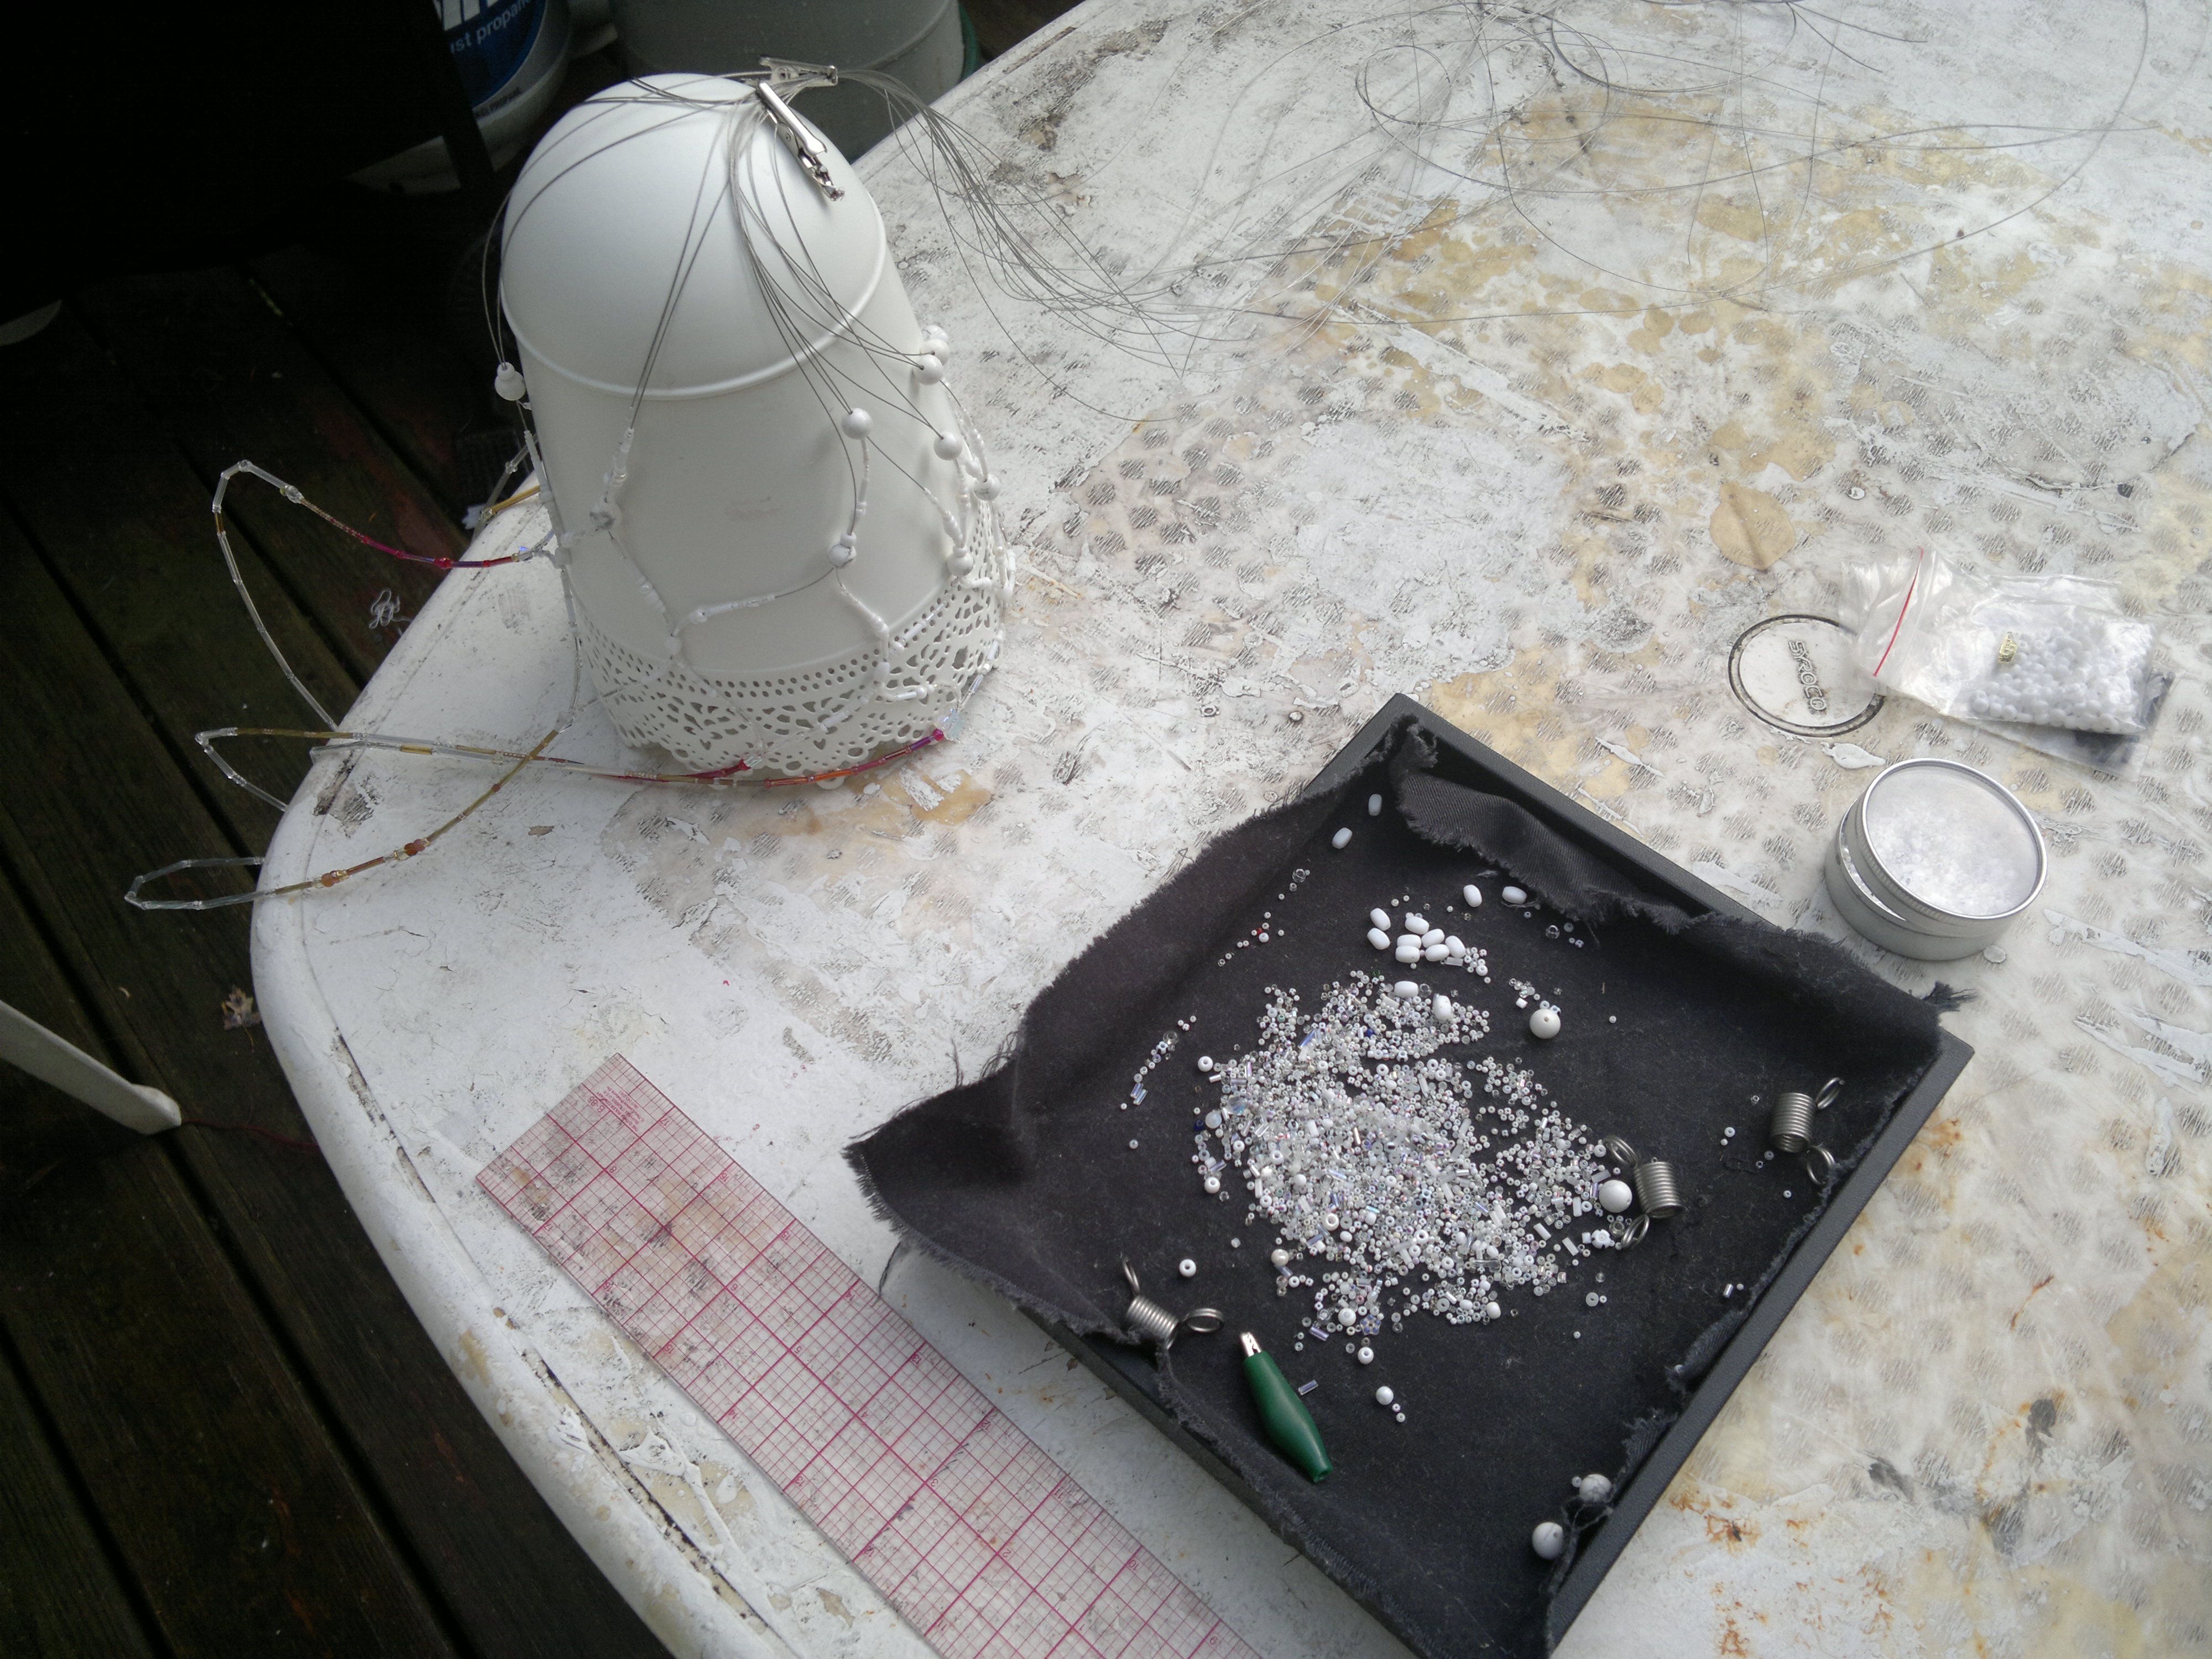
Testing: This hanger was made specifically for this round bottomed pot. The ruler is to keep the netting portions (between the larger beads) a consistent length, crucial for the thing to hang straight.
Perhaps the most frustrating part of the project was trying to keep the strands in order, so I didn't inadvertently screw up the mesh. One way I did this was to periodically drape the project (upside down) over the pot. There were times when I thought I was never gonna finish this step.
Unless otherwise noted, text, image and objects depicted therein copyright 1996--present sylvus tarn.