Someone emailed me about the bead curtain, specifically requesting information about its support structure—in plain english, what's holding it up. As the reader surmised, I use a standard curtain rod as the horizontal crossbar on which to drape the various strands...at least I think that's what this roughly 1-1/4” (32mm) diameter pole is—I suppose it could just as easily be a closet pole. At any rate, it was lying around, and I amused myself by painting white/off-white and glazing it with gold. The nice thing about using an official curtain rod is that then it will automatically fit with all those cute, pre-made options for attaching it to the wall, and decorating the ends. (Mine has some curlique type finials, which I've neglected to re-attach since we moved.)
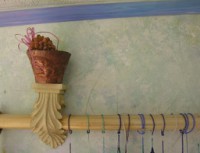
As you can see in the picture I got a pair of acanthus leaf brackets, done up in a sort of faux-antique-Roman style, but nicely pre-painted with cream crackle and gold paint from the local big-box store—a very quick and easy solution. Hanging the strands is dead-simple: I merely slide them on the pole, insert each end of said pole into the appropriate bracket, and if desired, screw the finials on.
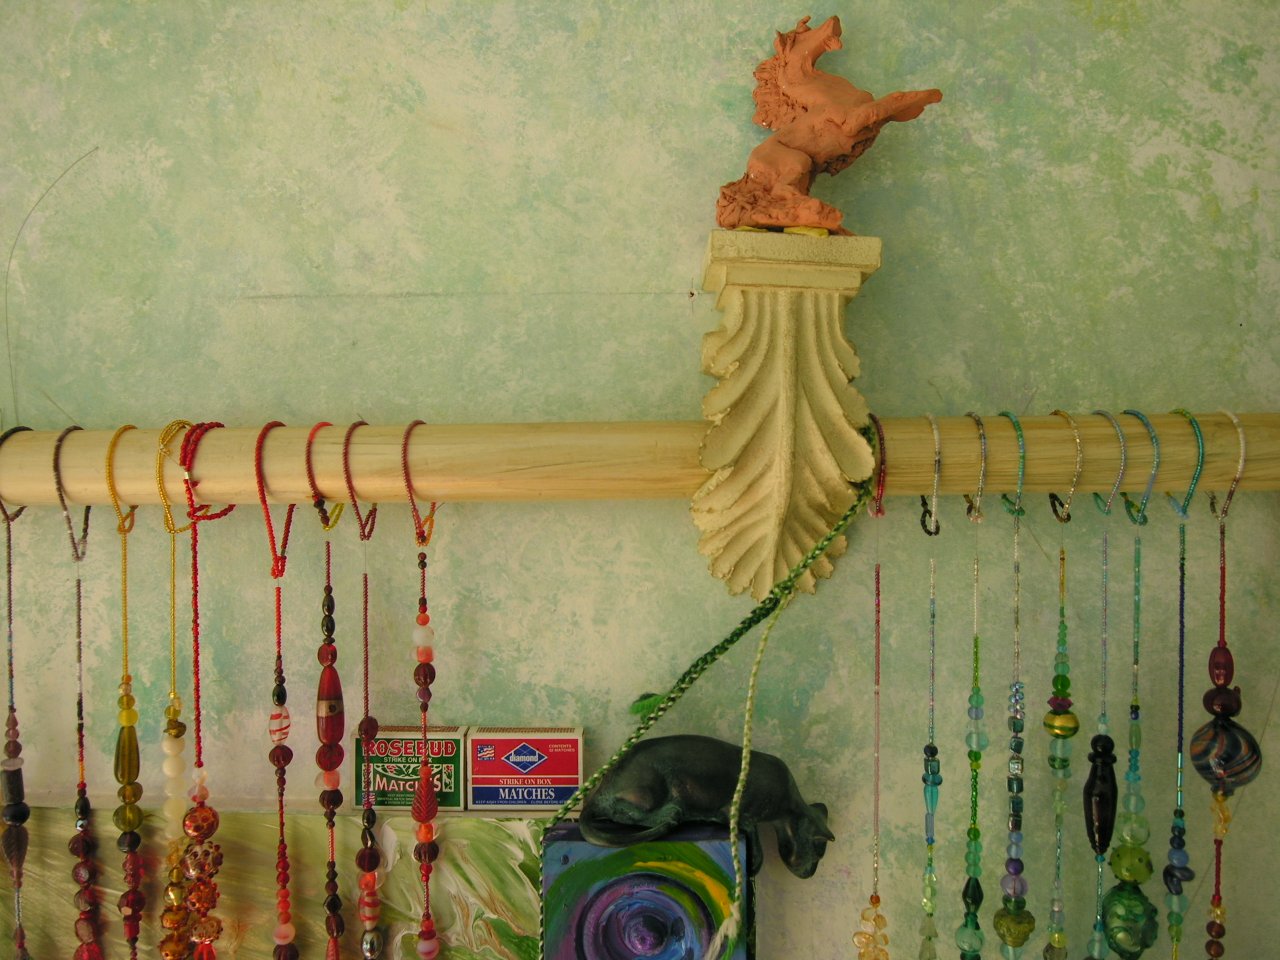
Pole and brackets for bead curtain. ’Spose I ought to erase the line the wizard used for leveling the pole...
I use the platform provided by the brackets for display—in this case a terra cotta (wingless) rejiquar I made at a parent-child workshop—Fantastic animals or something like that—that f2tE and I took at the DIA. It was a lot of fun, though the thing should probably be refired at a higher temperature. That yellow stuff is handi-tac, the photographer's friend. The cat is a gift from a relative: I love tucking these little sculptures about the studio. The 3 strand braid goes to a ring with the samples of seed beads I used to take shopping at the gem show.

Note the huge swath of bare tigertail on the leftmost strand (click if you need a larger version, and click again if the 512 pixel version still doesn't do you). This is what happens when you aren't vigilant about snugging up the beads as I mentioned last post.
This is purely a self-indulgent picture showing off the raised and repoussed bowl of a running (and again wingless) rejiquar I made in Metalworking. Every time I wanted to work from the inside, I had to melt all the pitch out. What a pain in the ass! Then I cut the metal all the way through, so I couldn't even use it as a vessel. Argh. It holds pot-pourrie just fine. (And recently I learnt you can just solder, or I should say braze these kinds of mistakes...)
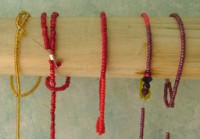
From left to right, the first 2 strands are made with the new method using large loops, and the other three with petite loops—this is easiest to see on the rightmost strand, which nicely illustrates another case of gaposis, as well as what a gold fill 2x3mm crimp looks like.
Setting up the strands to hang is more complicated than it really needs to be, mostly because I liked the idea of it adjusting to fit the pole tightly. (This does at least have the advantage of helping to keep the strands from sliding around on the pole.)
So, rather than just making a single loop (which I was afraid of making to small, if we're going to be brutally frank about my inability to eyeball things) size) I use a double loop system that adjusts to fit. You don't need to do this, particularly if you know exactly how big your pole is and never anticipate moving your curtain to a different pole—however, I knew I would be moving when I started this project, and have been adding to it (and conceivably will continue to add to it) for years—thus I've designed mine for maximum flexibility.
Unless otherwise noted, text, image and objects depicted therein copyright 1996--present sylvus tarn.